TRUCK SERVICE MANUAL
BRAKES-AIR
7. Discard the piston O-ring, the purge valve and the
piston return spring.
8. Wash all remaining parts in a commercial solvent
making sure all surfaces, bores, ports and passages are
clean and dry before reassembly.
NOTE: The heater and thermostat assembly in
the AD-2 end cover are non-serviceable. Do not
remove the thermostat cover.
Should this
assembly become defective, the end cover must
be replaced.
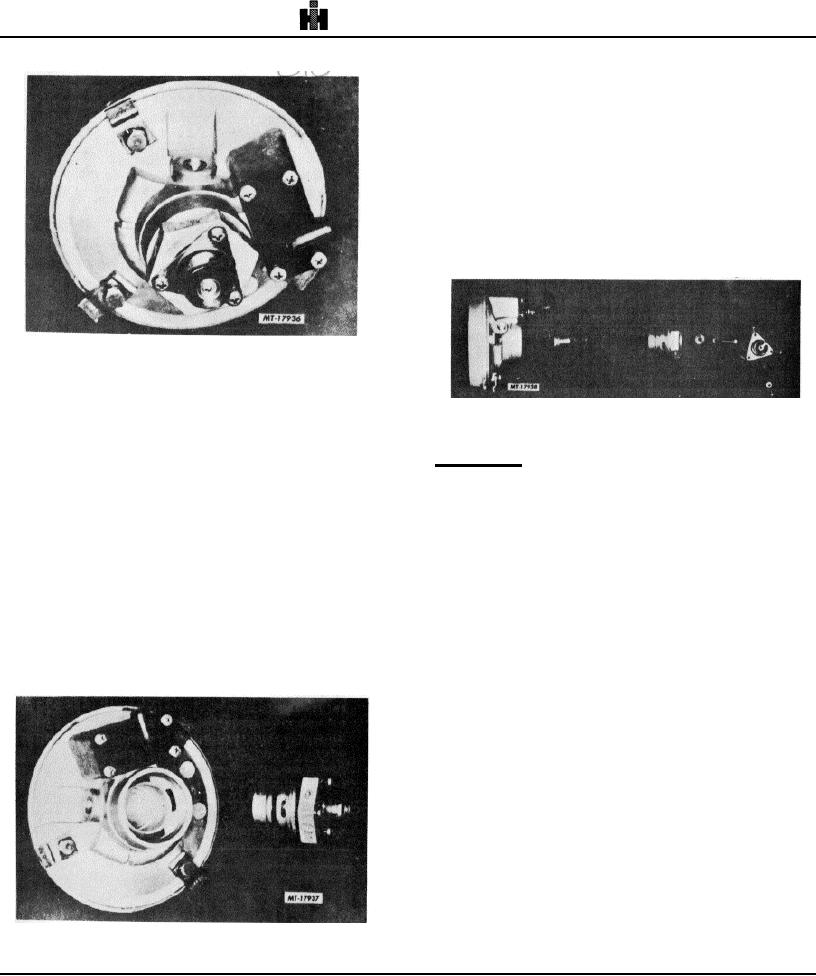
Fig. 17 AD-2 End Cover Assembly
2. Remove the single 6-32 screw securing the exhaust
diaphragm and separate the diaphragm, washer and
Fig. 19 Purge Valve Assembly Disassembled
screw. Discard the diaphragm.
Reassembly
3. Remove the three No. 6-32 screws securing the
exhaust cover and remove the exhaust cover.
1. Lubricate the piston O-ring and install it on the
piston.
4. Remove the purge valve assembly, the large hex
cap nut from the end cover and discard both O-rings
2. Lubricate the piston bore and install the piston.
around the cap nut.
3. Install the purge piston return spring and piston.
5. Using a 7/16" socket wrench and a large
screwdriver, remove the 1/4"20 hex head cap screw
4. Install the purge valve in the large cap nut so that the
which holds the assembly together.
rubber portion rests on the metal seat of the cap nut.
6. Separate capscrew, purge valve, purge valve piston
5. Secure the valve to the piston using the 1/4"-20
and the piston return spring.
capscrew and lockwasher and torque to 5.5 N.m (50
in. lbs.).
6. Lubricate and install the two cap nut O-rings.
7. Lubricate the cap nut threads and the cap nut bore of
the end cover and install the cap nut; torque it to
19.8 27.5 N.m (180 250 in. lbs.).
8. Secure the exhaust diaphragm to the exhaust cover
using the No.
6-32 phillips head screw and
diaphragm washer.
9. Secure the exhaust cover to the purge valve hex
head cap nut using the
Fig. 18 AD-2 End Cover Assembly with Purge Valve
Assembly
182

