
TRUCK SERVICE MANUAL
BRAKES-AIR
This is the correct "reversed" position of collet nut and
retainer when brake spider does not have conical
counterbore.
B. INSTALLING BOTTOMING TYPE POWER
UNIT.
1.
Screw the power unit into the plunger housing
2
Screw the power unit mto the plunger housing
until it bottoms (collet nut loose).
until it bottoms. This will push wedge assembly between
plungers and lift them off their seats inside the housing.
2.
Align connection ports with brake lines, if
By pushing. on one shoe or plunger, the second shoe or
necessary, unscrew power unit not more than
plunger will be seen to move.
one full turn.
3.
Connect brake lines.
4.
Make and hold a full pressure brake application.
(At this time position spanner nut retainer if used
so it will engage plunger housing slot.) Hand
tighten collet nut.
5.
On current assemblies, drive collet nut with a
drift and hammer 11/2 teeth (or 3/16 turn).
Release brake pressure.
6.
On older assemblies using retainer and
"reverse" collet nut, drive collet with drift and
hammer until it is tight against retainer.
Using a drift or other blunt tool, peen section of
3.
Unscrew the power unit one turn. Push on one
the retainer into one slot of the collet nut.
shoe or plunger and then the other alternately,
Release brake pressure.
observing movement of the opposite plunger. If
there is movement of the opposite plunger,
7.
Check for leaks at all connections.
unscrew the power unit another turn and
continue this procedure until no plunger
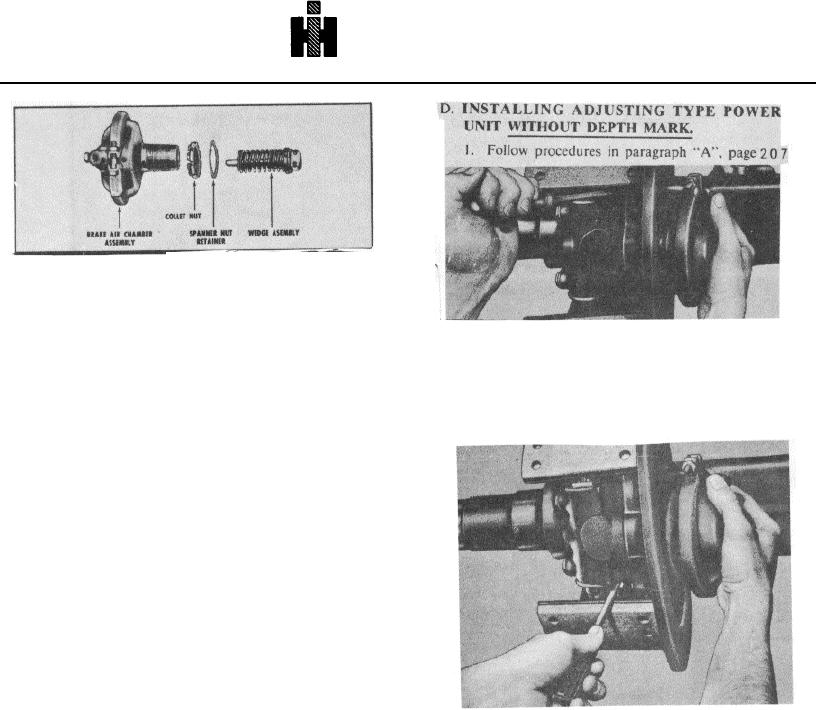
C. INSTALLING ADJUSTING TYPE POWER
movement can be detected. This point is
UNIT WITH DEPTH MARK.
usually two or three turns from the bottomed
1.
Follow procedures in paragraph "A"Page 207
position.
2.
Screw power unit into the plunger housing
Follow procedures 3 thru 7 of Installing
4.
several turns. Turn spanner nut toward plunger housing
Bottoming
Type
Power
Units.
so depth mark on threads is just ex- posed. Continue
turning power unit into plunger housing until it bottoms on
spanner nut and retainer. (Collet nut can be substituted
for spanner nut when needed.)
3. Follow procedures 3 thru 7 of Installing Bottoming
Type
Power
Units.
208