
TRUCK SERVICE MANUAL
BRAKES-AIR
GENERAL MAINTENANCE
SERVICING POWER UNITS
BRAKE ADJUSTMENT
AIR CHAMBER DIAPHRAGM
A. Manual Adjusters.
1.
Jack or hoist wheels free of ground.
The following procedures are used to replace the
2.
Remove dust cover from adjusting slot two
diaphragm and boot with the non-pressure housing on /
places on each brake.
the brake assembly.
On RD type brakes the adjusting slots are below
A. Refer to PARKING BRAKE SECTION for removal of
the forward and above the rear power unit.
spring brake air chambers.
If star-wheel adjusting bolts are not found at
these positions, the brake had been assembled
B. Remove air lines and tag emergency line.
on the wrong side of the vehicle.
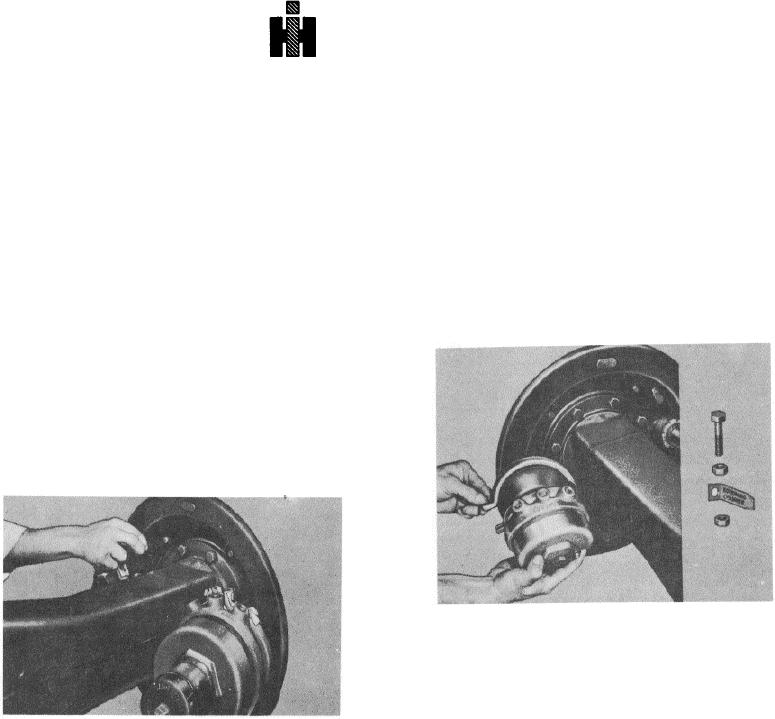
C. Remove clamp ring nuts, bolt
3.
Adjusting bolts have right hand threads. With an
adjusting spoon, turn the star-wheel until a
heavy drum drag is developed. Then back off
the bolt to a very light drag on the drum.
Repeat for other shoe on the brake. Replace
dust covers in adjusting slots. Repeat for other
brakes.
NOTE: Recommended adjusting spoons, are Snap-On-
Blue-Point S-9523, Wizard 4-H-2530 and Proto 2006.
D. Spread the clamp ring. Hold the diaphragm on the
non-pressure half and remove the pressure half
E.
Carefully remove the diaphragm while holding
diaphragm plate against the wedge rod. This will prevent
the wedge assembly from coming out of engagement
with the plungers.
B. Automatic Adjusters
1
Check drum to lining clearance with feeler gage.
NOTE: If wedge assembly backs out of plunger anytime
If the clearance is more than .060", adjust
during this entire procedure, remove non-pressure
brake manually (same as above) and schedule
housing
from
brake
to
replace
diaphragm.
the
vehicle
for
brake
service.
204