
TRUCK SERVICE MANUAL
FUEL SYSTEM
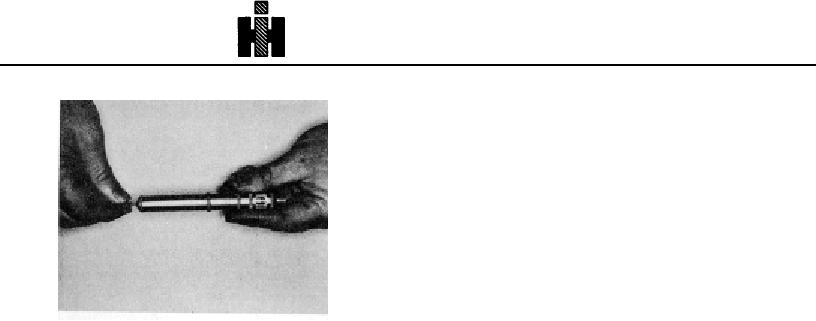
The 1/2 inch [12.7 mm] diameter may be from
3/4 Inch [19 mm] to 2 inch [51 mm] long, down
the link. These 1/2 inch [12.mm] links may be
mixed in an engine. Do not use new 1/2 Inch
[12.7 mm] links with old rocker levers unless
they are converted to take new 1/2 inch [12.7
mm] sockets.
Injector Removal And Installation in Head
PT (type D) Injectors
1. Remove injector holddown plate or yoke.
a. Use ST1297 to remove injectors from cylinder
head.
b. On NH, NT and V12 series engines you may
insert a 3/816 capscrew in tapped hole in
holddown plate and jack injector from head.
Fig. 6-1-94, F60143. Orifice size gauge
2. Remove all carbon from injector copper sleeves.
a. Do not use anything metal to scrape the sleeves.
18. If delivery is more than specified cc (Table 6-1-
b. Use a wooden stick with a clean cloth wrapped
15), a new adjustable orifice must be installed in
around the end.
the injector. See Table 6-1-16. Tighten orifice
3. Lubricate the "O" rings with 20 to 30 weight lube
plug to 8 to 10 inch-pounds [.9 to 1.1 N m]
oil. Do not use Lubriplate.
torque.
4. Start injector into bore, guide by hand until
Note: Orifice plugs have flanges and require a gasket
aligned in bore and not binding.
between flange and adapter.
a. It is not required to line up any plugs or rotate
19. New inlet orifice plugs contain enough stock in
injector around in any position. The PT (type D)
the inside diameter so a small displacement of
will perform at any position.
metal by burnishing will increase delivery. The
5. Place a clean blunt object on injector body and
amount of displacement is limited so several
"seat" injector by giving a quick hard push. A
orifice plugs are required to cover the delivery for
snap should be heard and felt as cup seats in
all the engine models from low to high
copper sleeve.
horsepower. See Table 6116.
Note: Do not use a wooden hammer handle or similar
20. After each four cycles, reclamp injector to insure
tool to install injectors. Dirt or splinters from the
maximum accuracy. When delivery is correct,
handle may drop into plunger link seat causing
remove inlet and drain connection.
early failure of link or plunger socket.
21. Remove injector from test stand.
Caution: If injector is not completely seated, the "O"
22. Remove plunger and spring.
rings may be damaged if pulled down with the mounting
23. Remove adapter plate and body from injector
capscrews.
adapter.
6. Install holddown plates or yokes, lockwashers
24. Install plunger and spring in injector adapter.
and capscrews.
25. Insert disc screen over orifice and assemble
Caution: Be certain plates or yokes do not contact
retainer ring to hold screen in place.
crosshead stems.
26. Insert link in plunger coupling and store in a
7. Torque capscrews in alternate steps to 11 to 12
clean plate until needed.
ftlb [15 to 16 N. mi.
27. When 5/16 inch [7.9 mm] link is used, always
Nylok capscrews may be used Torque them alternately
keep part number up. This link has a 5/16 inch
to 12 ftlb [15 to 16 No m] .
[7.9 mmj ball on both ends.
8. Test injector plunger for movement after torquing
28. A new 1/2 inch [12.7 mm] diameter ball link is
holddown capscrews. If plunger is not free,
currently being used to improve the wear
retorque
capscrews.
resistance of the upper ball end. This new link
has several optional shapes of the upper end.
481